Agenda. Stage 2
The Yellow Sign - Back
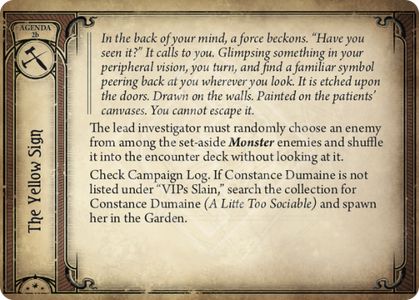
The lead investigator must randomly choose an enemy from among the set-aside Monster enemies and shuffle it into the encounter deck without looking at it.
Check Campaign Log. If Constance Dumaine is not listed under "VIPs Slain," search the collection for Constance Dumaine (A Little Too Sociable) and spawn her in the Garden.

Act. Stage 2
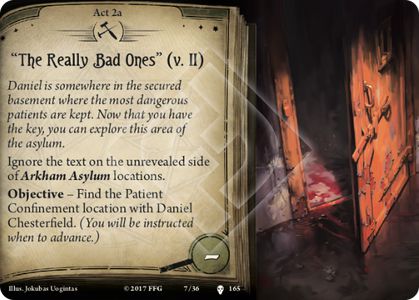
Ignore the text on the unrevealed side of Arkham Asylum locations.
Objective - Find the Patient Confinement location with Daniel Chesterfield. (You will be instructed when to advance.)
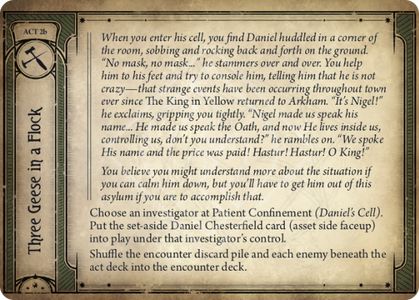
Three Geese in a Flock - Back
You believe you might understand more about the situation if you can calm him down, but you'll have to get him out of this asylum if you are to accomplish that.
Choose an investigator at Patient Confinement (Daniel's Cell). Put the set-aside Daniel Chesterfield card (asset side faceup) into play under that investigator's control.
Shuffle the encounter discard pile and each enemy beneath the act deck into the encounter deck.

Act. Stage 2
Ignore the text on the unrevealed side of Arkham Asylum locations.
Objective - Find the Patient Confinement location with Daniel Chesterfield. (You will be instructed when to advance.)
Daniel's Warning - Back
The man approaches wearing a crazed expression, and you take a wary step backward. "We spoke His name and the price was paid! Hastur! Hastur! O King! - " Then, suddenly, he transforms before your very eyes. His bones twist and snap. His body warps grotesquely. The symbol carved into his forehead burns bright, and a yellow glow emanates from within his body. He lunges to attack you.
Spawn the set-aside Daniel Chesterfield (enemy side faceup) at Patient Confinement (Daniel's Cell).

Act. Stage 1
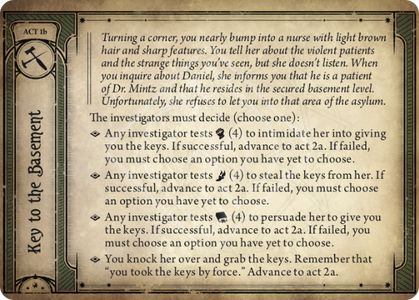
Key to the Basement - Back
The investigators must decide (choose one):
- Any investigator tests (4) to intimidate her into giving you the keys. If successful, advance to act 2a. If failed, you must choose an option you have yet to choose.
- Any investigator tests (4) to steal the keys from her. If successful, advance to act 2a. If failed, you must choose an option you have yet to choose.
- Any investigator tests (4) to persuade her to give you the keys. If successful, advance to act 2a. If failed, you must choose an option you have yet to choose.
- You knock her over and grab the keys. Remember that "you took the keys by force." Advance to act 2a.
Act. Stage 1
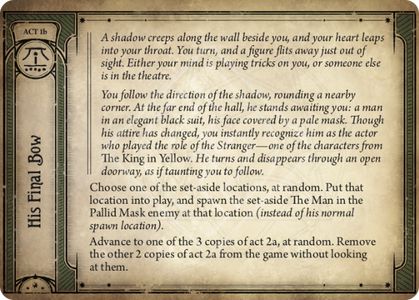
His Final Bow - Back
You follow the direction of the shadow, rounding a nearby corner. At the far end of the hall, he stands awaiting you: a man in an elegant black suit, his face covered by a pale mask. Though his attire has changed, you instantly recognize him as the actor who played the role of the Stranger - one of the characters from The King in Yellow. He turns and disappears through an open doorway, as if taunting you to follow.
Choose one of the set-aside locations, at random. Put that location into play, and spawn the set-aside The Man in the Pallid Mask enemy at that location (instead of his normal spawn location).
Advance to one of the 3 copies of act 2a, at random. Remove the other 2 copies of act 2a from the game without looking at them.
Act. Stage 3
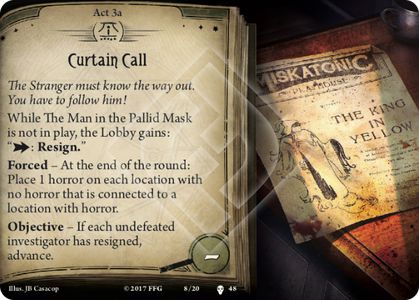
While The Man in the Pallid Mask is not in play, the Lobby gains: ": Resign."
Forced - At the end of the round: Place 1 horror on each location with no horror that is connected to a location with horror.
Objective - If each undefeated investigator has resigned, advance.
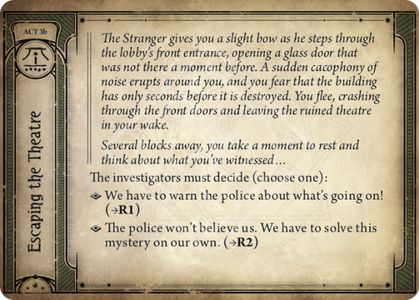
Escaping the Theatre - Back
Several blocks away, you take a moment to rest and think about what you've witnessed...
The investigators must decide (choose one):
- We have to warn the police about what's going on! (→R1)
- The police won't believe us. We have to solve this mystery on our own. (→R2)
Act. Stage 1
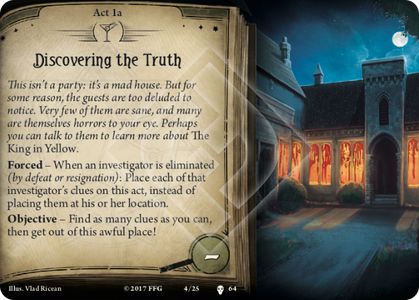
Forced - When an investigator is eliminated (by defeat or resignation): Place each of that investigator's clues on this act, instead of placing them at his or her location.
Objective - Find as many clues as you can, then get out of this awful place!
…? - Back
Madness. noun. mad.ness.
The state of being mentally ill, especially severely.
- Extremely foolish behavior.
- A state of frenzied or chaotic activity.
- Why are you looking at this side?
- There is no reason to flip to Act 1b.
- Flip back to Act 1a.
Act. Stage 1
Objective - When the investigators have collected the requisite number of clues, they must immediately spend them and advance.
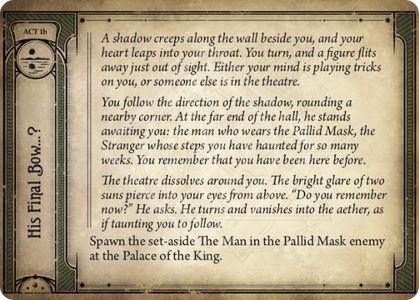
His Final Bow...? - Back
You follow the direction of the shadow, rounding a nearby corner. At the far end of the hall, he stands awaiting you: the man who wears the Pallid Mask, the Stranger whose steps you have haunted for so many weeks. You remember that you have been here before.
The theatre dissolves around you. The bright glare of two suns pierce into your eyes from above. "Do you remember now?" he asks. He turns and vanishes into the aether, as if taunting you to follow.
Spawn the set-aside The Man in the Pallid Mask enemy at the Palace of the King.

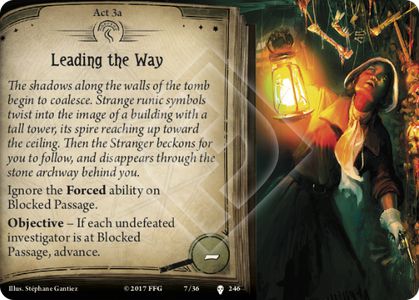
Act. Stage 3
Ignore the Forced ability on Blocked Passage.
Objective - If each undefeated investigator is at Blocked Passage, advance.
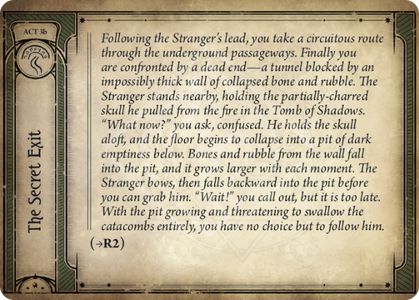
The Secret Exit - Back
(→R2)
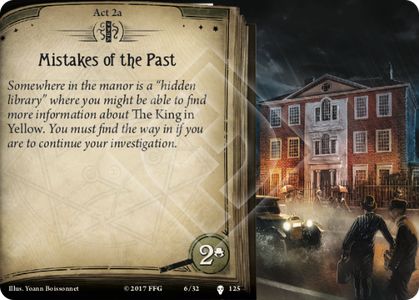
Act. Stage 2
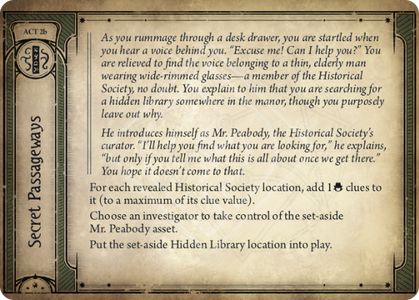
Secret Passageways - Back
He introduces himself as Mr. Peabody, the Historical Society's curator. "I'll help you find what you are looking for," he explains, "but only if you tell me what this is all about once we get there." You hope it doesn't come to that.
For each revealed Historical Society location, add 1 clues to it (to a maximum of its clue value).
Choose an investigator to take control of the set-aside Mr. Peabody asset.
Put the set-aside Hidden Library location into play.
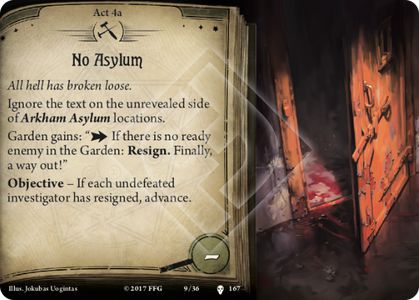
Act. Stage 4
Ignore the text on the unrevealed side of Arkham Asylum locations.
Garden gains: " If there is no ready enemy in the Garden: Resign. Finally, a way out!"
Objective - If each undefeated investigator has resigned, advance.
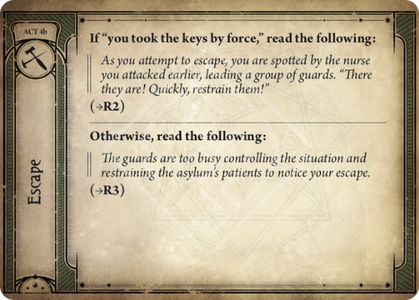
Escape - Back
If "you took the keys by force," read the following:
As you attempt to escape, you are spotted by the nurse you attacked earlier, leading a group of guards. "There they are! Quickly, restrain them!"
(→R2)
Otherwise, read the following:
The guards are too busy controlling the situation and restraining the asylum's patients to notice your escape.
(→R3)
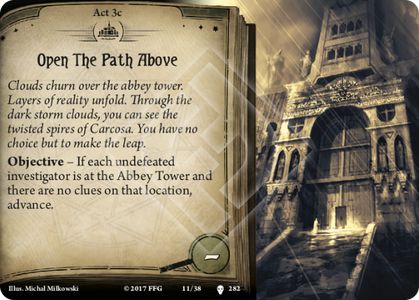
Act. Stage 3
Objective - If each undefeated investigator is at the Abbey Tower and there are no clues on that location, advance.
To Carcosa - Back
You leap into the churning maelstrom and open the path to Carcosa, the realm of madness.
(→R2)
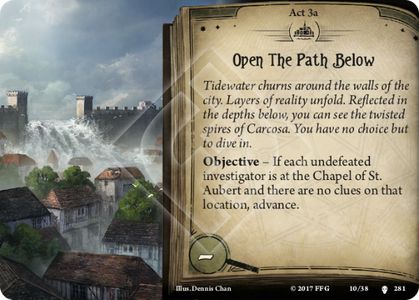
Act. Stage 3
Objective - If each undefeated investigator is at the Chapel of St. Aubert and there are no clues on that location, advance.
To Carcosa - Back
You dive into the churning waters and open the path to Carcosa, the realm of madness.
(→R1)
Act. Stage 3
Ignore the text on the unrevealed side of Arkham Asylumlocations.
Objective - If investigators have performed 4 of the following, you must advance.
- "Know the guards' patrols."
- "Set a fire in the kitchen."
- "Incited a fight amongst the patients."
- "Released a dangerous patient."
- "Recalled the way out."
- "Distracted the guards."
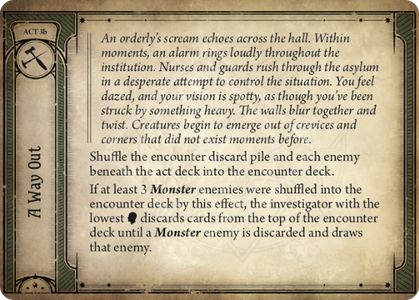
A Way Out - Back
Shuffle the encounter discard pile and each enemy beneath the act deck into the encounter deck.
If at least 3 Monster enemies were shuffled into the encounter deck by this effect, the investigator with the lowest discards cards from the top of the encounter deck until a Monster enemy is discarded and draws that enemy.

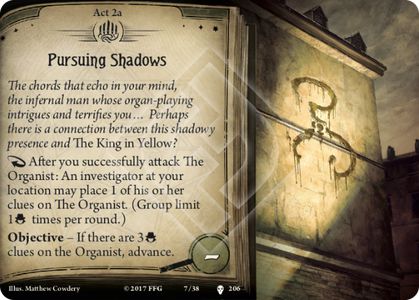
Act. Stage 2
After you successfully attack The Organist: An investigator at your location may place 1 of his or her clues on The Organist. (Group limit 1 times per round.)
Objective - If there are 3 clues on The Organist, advance.
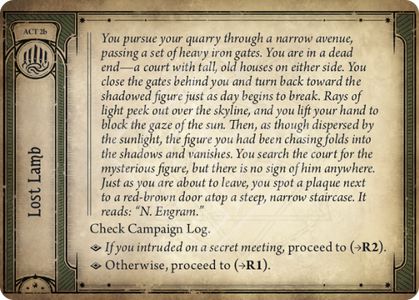
Lost Lamb - Back
Check Campaign Log.
- If you intruded on a secret meeting, proceed to (→R2).
- Otherwise, proceed to (→R1).
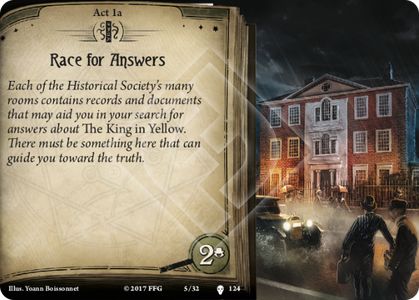
Act. Stage 1
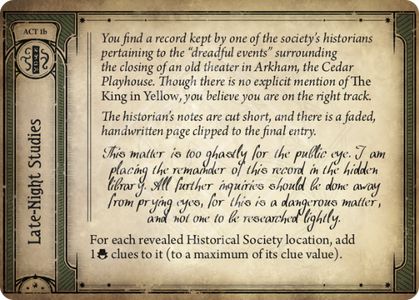
Late-Night Studies - Back
The historian's notes are cut short, and there is a faded, handwritten page clipped to the final entry.
This matter is too ghastly for the public eye. I am placing the remainder of this record in the hidden library. All further inquiries should be done away from prying eyes, for this is a dangerous matter, and not one to be researched lightly.
For each revealed Historical Society location, add 1 clues to it (to a maximum of its clue value).
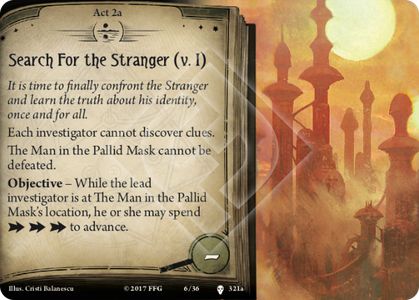
Act. Stage 2
Each investigator cannot discover clues.
The Man in the Pallid Mask cannot be defeated.
Objective - While the lead investigator is at The Man in the Pallid Mask's location, he or she may spend to advance.
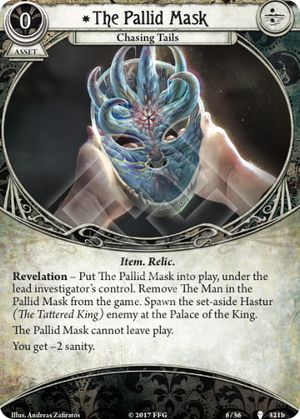
The Pallid Mask
Chasing Tails
Asset
Item. Relic.
Cost: 0.
Revelation - Put The Pallid Mask into play, under the lead investigator's control. Remove The Man in the Pallid Mask from the game. Spawn the set-aside Hastur (The Tattered King) enemy at the Palace of the King.
The Pallid Mask cannot leave play.
You get -2 sanity.
Act. Stage 2
Each investigator cannot discover clues.
The Man in the Pallid Mask cannot be defeated except by his ability.
Objective - When The Man in the Pallid Mask would be defeated by his ability, advance.
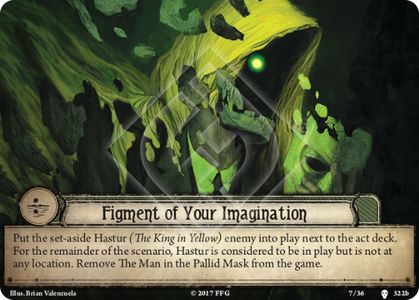
Figment of Your Imagination - Back
Put the set-aside Hastur (The King in Yellow) enemy into play next to the act deck. For the remainder of the scenario, Hastur is considered to be in play but is not at any location. Remove The Man in the Pallid Mask from the game.

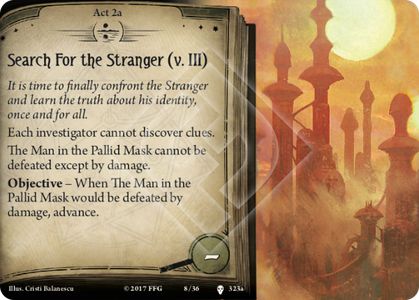
Act. Stage 2
Each investigator cannot discover clues.
The Man in the Pallid Mask cannot be defeated except by damage.
Objective - When The Man in the Pallid Mask would be defeated by damage, advance.
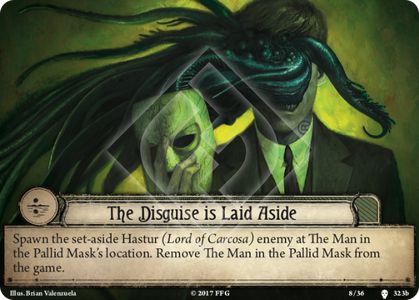
The Disguise is Laid Aside - Back
Spawn the set-aside Hastur (Lord of Carcosa)enemy at The Man in the Pallid Mask's location. Remove The Man in the Pallid Mask from the game.
Act. Stage 2
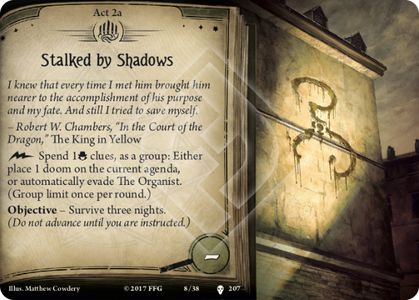
-Robert W. Chambers, "In the Court of the Dragon," The King in Yellow
Spend 1 clues, as a group: Either place 1 doom on the current agenda, or automatically evade The Organist. (Group limit once per round.)
Objective - Survive three nights. (Do not advance until you are instructed.)
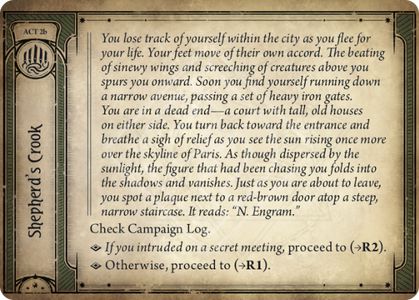
Shepherd's Crook - Back
Check Campaign Log.
- If you intruded on a secret meeting, proceed to (→R2).
- Otherwise, proceed to (→R1).